Thor's Hammer Mjolnir
Materials:
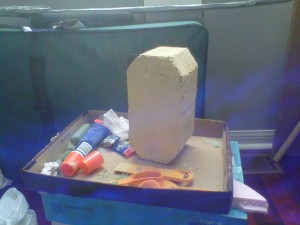
- Styrofoam Blocks(Floral Foam)
- Wood Filler (or another primer)
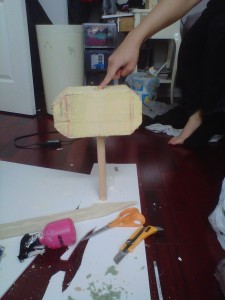
- Wooden Dowel (or pvc pipe)
- Pleather (or leather)
- Glue
- Acrylic Paint
Reference:
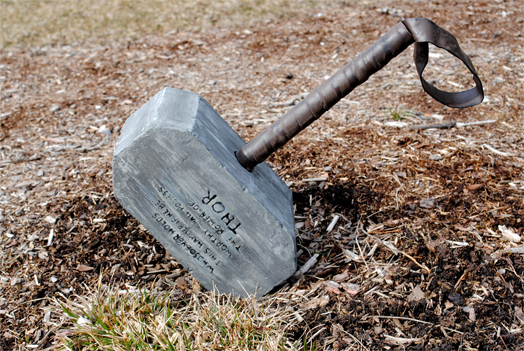
It is always important to collect reference pictures to know what direction you want to go with the prop, and to use as a visual aid during the entire creation process! I based my hammer off of the following reference which had a stone look over metal.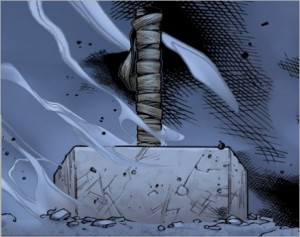
Process:
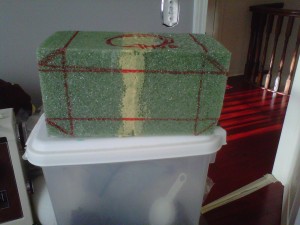
The head was made with green foam, two pieces I glued together.I then sketched out the hammer and made some lines so I knew where to cut. I used an exactoknife to carve off the foam and sanded it smoothe. I also cut out a hole for the dowel in the underside of the foam.
**Remember that hot glue and any heat producing glue (superglue) can melt foam which is bad. You can find some good glue alternatives on thistothat.com
To strengthen the foam and give a good stone texture I covered the piece in Wood Filler. I don’t have an electric sander (yet) and wood filler is a strong alternative to bondo that goes on easy, dries hard and can be hand-sanded. You could also look into wall spackle for an easier sand, or bondo and fiberglass for a very strong piece. After doing several layers I sanded down the edges so it had a cut-rock appearance.
Cut the dowel to size and make sure it fits properly in the hole.
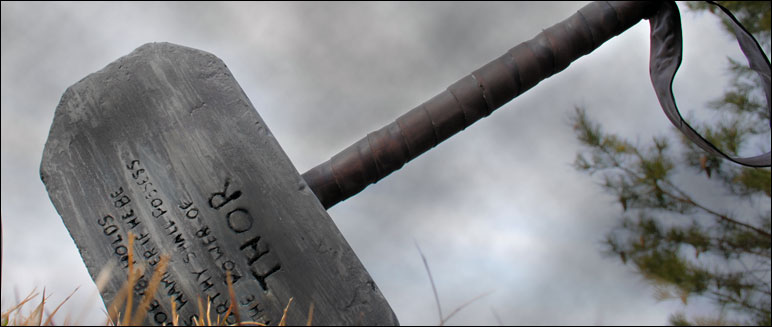
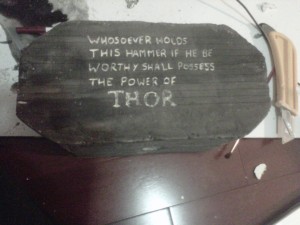
After painting I made some light pencil lines and wrote out the text for the hammer. I used an exactoknife to carve into the head. I used a small paintbrush to dust out the holes. I filled the writing with a darker paint and then did a couple more layers of the greys to hide the pencil lines.
I then cut strips of pleather and glued them to the wooden dowel, just past the entrance into the hammer’s head. For the strap at the bottom I sewed together two pieces of pleather and attached them to the dowel with a screw. The screw was painted to match the brown. I then glued the dowel into the hammer and let dry so that it would be secure. (Not Shown)
Final: